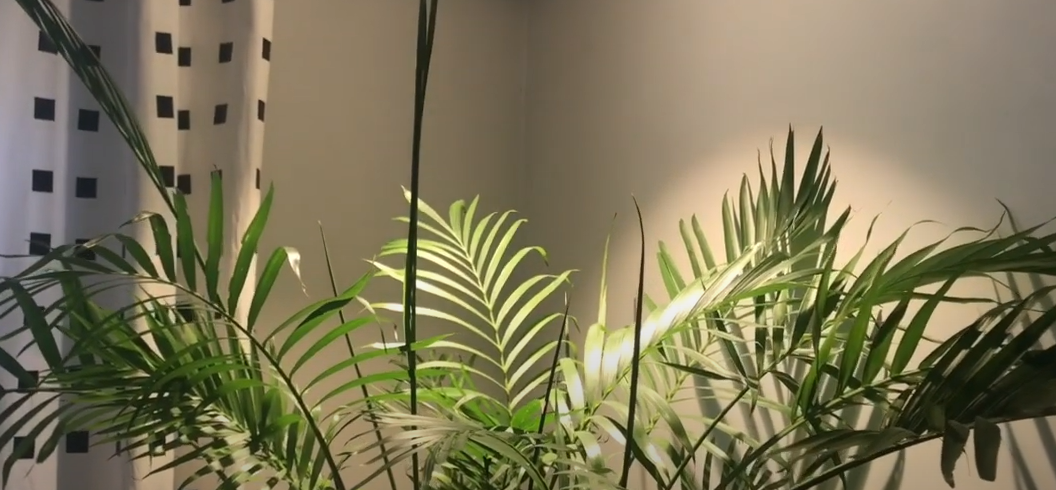
Hi everyone, this is Julia. Today I want to tell you how I installed plant lights on this plant. My plants are placed in the corners, very dark and often out of the sun, so I bought a VANQ LED plant light online. Now, I will show how to place LED grow lights on the ceiling. I need to cut a rope and a hook in the corner. Paint a can opener so I can lift it to the ceiling, see where I want the light to shine on the ceiling, and then make a mark on the ceiling. Now I need to determine if there is a Sun or. Do I need it?
It uses some people’s favorite anchor to knock on the door, you can hear it, but I prefer stud detectors, the floor joists operate in one way or another, so I recommend going this way, no, the opposite direction, But I can see the arrow, so it shows that my mark is not on the stud, I need to use an anchor, the light has an anchor, but I prefer to use these small screws, let me tell you, this is a screw and an anchor, I like to use everything I have now.
8JIA(%402.png)
Tap the hammer lightly into the ceiling and screw it in with a screwdriver. Then you can use its built-in hook or this more beautiful little device, put it on the ceiling, and then tighten the screws like this so that you can hang the cable here. I just put it on the ceiling. There is nothing like putting it on the ceiling. It is easier to drag the cable behind the curtain. This is the planning checklist that actually comes with the manual, telling you how far the light should hang on certain plants and how long the light should run. No matter what stage of the growth stage, plants are going through such a perfect process.
- ۰۰/۰۴/۰۱